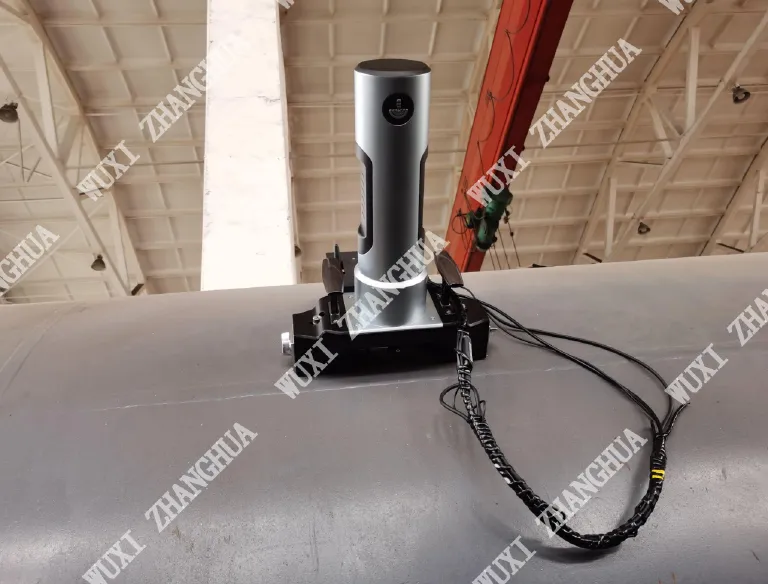
Within the solid, unyielding surfaces of a pharmaceutical mixer or chemical reactor lies a hidden narrative of stress, endurance, and microscopic change. To the naked eye, a stainless-steel agitator blade appears as a static tool, but to the engineer armed with a Filter Dryer Indentation Tester, it is a dynamic component with a story written in its hardness. This specialized instrument is far more than a simple pass/fail gauge; it is a key that unlocks profound material insights, revealing secrets about a component's past treatment, its current state of health, and its future reliability. Mastering its use moves quality control from a procedural checkpoint into the realm of predictive material science.
The Hidden Language of the Load-Displacement Curve
The most fundamental secret lies not in the final hardness number displayed, but in the journey to reach it. Modern electronic testers capture the entire load-displacement curve—a precise graph plotting the force applied against the depth of the indenter's penetration. This curve is a material's mechanical fingerprint. The initial slope reveals the elastic modulus, telling us how stiff the material is. The curvature during loading speaks to its work-hardening behavior. Critically, the shape of the unloading curve, dictated by the material's elastic recovery, allows for the calculation of true hardness without the influence of plastic deformation. By analyzing this curve, one can discern whether a material is behaving in a purely elastic, ductile, or brittle manner at the micro-scale, insights a simple dial-reading tester can never provide.
Mapping the Gradient: Unveiling Thermal and Mechanical History
A single point test provides a data point, but a series of tests unlocks a spatial story. One of the tester's most powerful secret applications is gradient mapping. This is particularly revealing around welds or heat-treated zones. By performing a precise line of indentations moving from the base metal, through the heat-affected zone (HAZ), and into the weld metal itself, the tester creates a hardness profile. A sudden, sharp peak in hardness in the HAZ can signal the formation of brittle martensitic structures in steel, a red flag for susceptibility to cracking. A gradual, appropriate gradient confirms a proper post-weld heat treatment. This map is a direct, quantitative readout of the component's thermal history, exposing fabrication quality that is otherwise invisible.
Detecting the Onset of Fatigue Before Failure
Catastrophic fatigue failure rarely happens without warning; it is preceded by a gradual evolution in the material's microstructure. The indentation tester is sensitive enough to detect this early-stage damage. In components subjected to cyclic stress, like a rotating filter dryer blade, microscopic cracks begin to form and material locally work-hardens. By establishing a baseline hardness map when a component is new and then periodically retesting the same high-stress locations, a gradual increase in hardness can be observed. This is a clear, numerical indicator of accumulating fatigue damage. This secret insight allows for replacement long before a crack propagates to a critical size, transforming maintenance from reactive to truly predictive.
Interfacial Integrity: Probing the Bond Beneath the Surface
For components with coatings, cladding, or wear plates, the weakest point is often the interface where two materials meet. The indentation tester can be used to probe this secret boundary. Techniques like the Rockwell adhesion test involve making a standard indentation and then using specialized optical equipment to examine the impression. The nature of any cracks radiating from the indentation's edge—whether they propagate through the coating or travel along the interface—reveals the cohesive strength of the coating versus the adhesive strength of its bond. This non-destructive method provides a vital insight into whether a protective layer is likely to spall or delaminate under operational stress, safeguarding against unexpected contamination.

The Secret of Residual Stress Indication
While not a direct measure, the indentation test can be a powerful indirect indicator of residual stress states within a component. Compressive residual stress, often beneficial for fatigue life, can cause a slight but measurable increase in apparent hardness. Tensile residual stress, which is detrimental, can have the opposite effect. By comparing hardness readings from a finished, stressed component against readings from a stress-relieved sample of the same material, skilled practitioners can identify anomalies. A zone of unexpectedly high or low hardness on a machined shaft, for example, can point to unintended residual stress from an aggressive machining process, guiding targeted stress-relief interventions before the part enters service.
Corrosion's Subtle Prelude: Softening at the Surface
Corrosion is often thought of as a visible phenomenon, but its earliest stages are chemical and micro-structural. For many alloys, particularly stainless steels, the onset of certain corrosive attacks can lead to a subtle surface softening as protective phases are compromised. By using a very low-force micro-indentation scale, the tester can detect this minute change in the near-surface material properties—a change utterly invisible to the eye and undetectable by thickness gauges. This secret early warning allows for intervention, such as a change in process chemistry or scheduling an inspection, long before pitting or stress corrosion cracking becomes a critical issue, preserving both the component and the batch purity.
Unlocking Consistency: The Statistical Process Control Enabler
The final secret is one of scale and intelligence. When hardness testing is elevated from a sporadic check to a systematic practice, the data becomes a powerful tool for Statistical Process Control (SPC). By routinely testing raw material stock, fabricated sub-components, and finished parts, a rich database is built. This allows for the analysis of trends and variations not in a single piece, but across suppliers, heat lots, and fabrication batches. Suddenly, the tester unlocks insights into systemic issues: Is one supplier's material consistently at the low end of the spec? Does a particular welding procedure introduce more variability? This macro-level insight drives continuous improvement at the source, ensuring that every component that enters a filter dryer vessel is not just adequate, but optimally consistent, building unparalleled reliability from the inside out.
