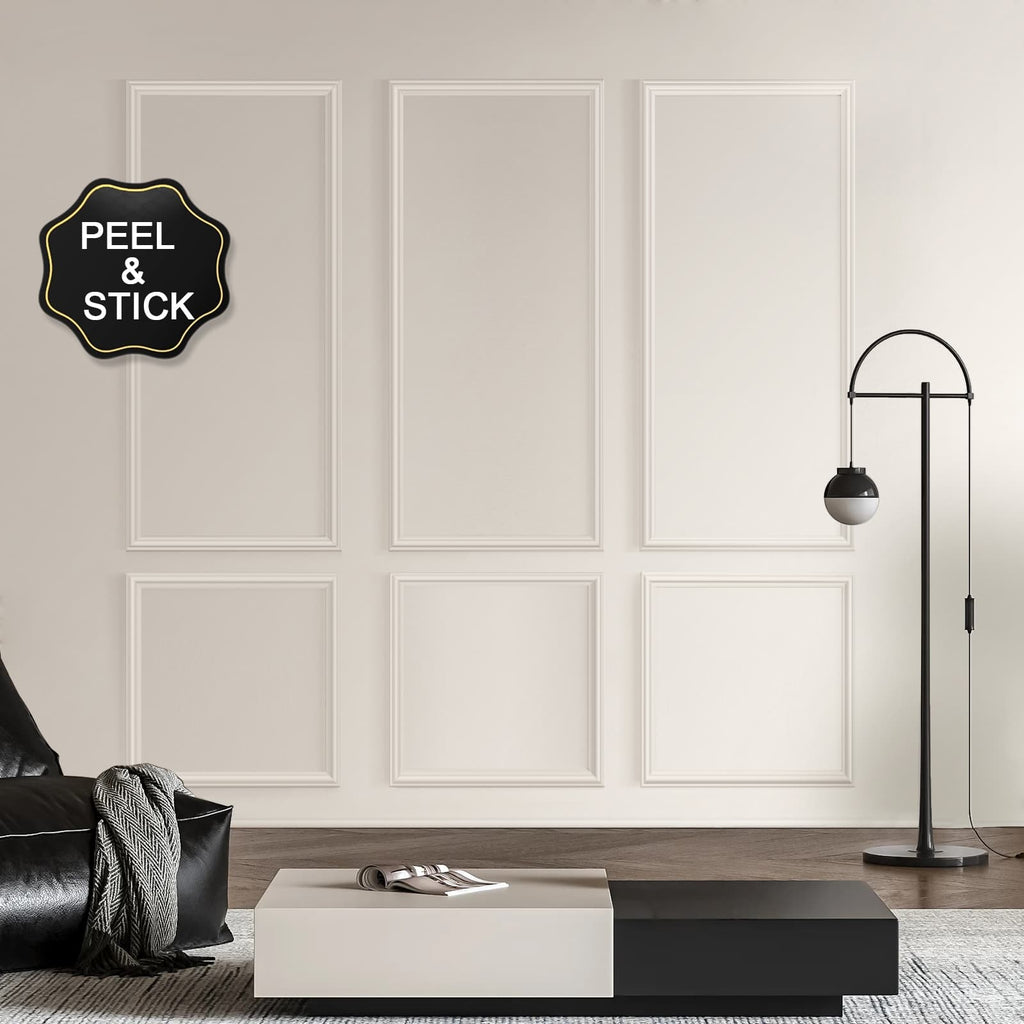
There is something inherently satisfying about the symmetry and structure that framed wall panels bring to a room. They create visual interest, establish proportion, and add a layer of sophistication that paint alone simply cannot achieve. Yet for many homeowners, the prospect of creating these frames has always seemed daunting, requiring precise measurements, complex angle cuts, and the kind of mathematical precision that makes weekend projects feel like work. Pre-cut wall trim kits have changed this completely, offering a pathway to beautiful decorative interior frames that removes the technical barriers while preserving the elegant result. These kits arrive with every piece of trim already cut to the exact dimensions needed for your chosen frame design, allowing you to focus on the satisfying work of installation rather than the anxiety of cutting. The result is a room that looks thoughtfully designed and professionally executed, achieved with your own two hands and a fraction of the usual effort.
The Appeal of Decorative Wall Frames
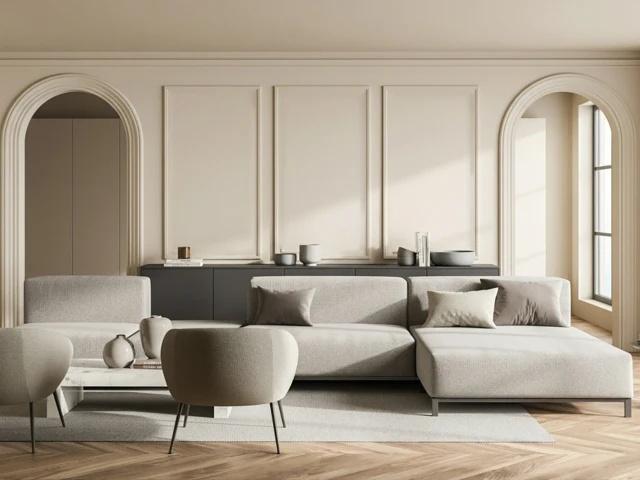
Understanding why decorative wall frames have such a powerful impact on interior spaces helps explain the value of pre-cut kits designed for this purpose. These architectural elements work by breaking up large wall expanses into smaller, more human-scaled sections, creating a sense of proportion and order that feels inherently pleasing to the eye. In dining rooms, frames establish an appropriate formality and provide natural locations for artwork or mirrors. In living areas, they add architectural interest that makes the space feel more custom and considered. In hallways, a series of frames creates rhythm and movement that transforms a purely functional passage into a design feature. The frames themselves can be styled in countless ways, from classic rectangles that echo traditional paneling to more adventurous geometric arrangements that feel distinctly contemporary. When painted the same color as the surrounding wall, frames create subtle texture and shadow play that adds depth without contrast. When painted in a contrasting color, they become bold architectural statements that define the room's character. This versatility makes decorative wall frames one of the most effective tools in the interior designer's toolkit, and pre-cut kits make them accessible to everyone.
What Your Pre-Cut Frame Kit Contains
A typical pre-cut wall trim kit for decorative frames arrives with all components necessary to complete your project, thoughtfully organized and ready for installation. You will receive the vertical and horizontal trim pieces that form the frame borders, each cut precisely to length with clean, square ends or pre-mitered corners depending on the kit design. Many kits include decorative corner blocks or rosettes that eliminate the need for angled cuts altogether, creating a distinctive look while further simplifying installation. The pieces are often organized and labeled to correspond with an installation diagram, removing any confusion about which piece goes where. Beyond the trim itself, most kits provide the recommended adhesive, sanding materials, and detailed instructions tailored to that specific frame configuration. Some manufacturers even offer painting supplies or finishing recommendations. This comprehensive approach means that from the moment you open the box, you have everything needed to transform your walls, with no last-minute trips to the hardware store or creative substitutions required.
Planning Your Frame Layout
The success of your decorative frame installation depends significantly on thoughtful planning before any pieces are applied to the wall. Begin by deciding on the general layout of your frames, considering how many you want on each wall and how they will relate to windows, doors, and corners. A common approach is to center frames on the largest wall expanses, maintaining consistent spacing between frames and from frames to adjacent architectural elements. The proportion of your frames matters as well. As a general guideline, frames that are too large can overwhelm a space, while those that are too small may appear insignificant. The spacing between multiple frames on the same wall should be consistent, typically falling between three and six inches depending on the overall scale. Consider how your frames will interact with furniture placement. In dining rooms, frames might align with table position. In living areas, they can relate to sofa proportions. Use painter's tape to outline your proposed frame positions on the wall, living with the layout for a day to assess proportions and make adjustments before committing. This simple step allows you to see how the design looks at different times of day and how it relates to your furnishings.
Measuring for a Custom Fit
Accurate measurements form the foundation of a successful pre-cut frame kit order. Most manufacturers provide detailed instructions for measuring your walls, and following these carefully ensures your kit will arrive with pieces cut to exactly the right dimensions. You will typically need to measure the height and width of each wall where frames will be installed, noting the location of windows, doors, electrical outlets, and other obstacles that may affect frame placement. Pay special attention to corners, as the transition from one wall to the next requires careful consideration. Decide whether your frames will stop at corners or wrap around them, as this affects how pieces are cut. Take measurements twice to confirm accuracy, and consider having a second person verify your numbers. Many companies offer online tools or customer support to help you translate your measurements into the correct kit configuration. If you are unsure about any aspect of the layout or measurement process, do not hesitate to reach out for assistance. The time invested in accurate measuring pays dividends when your kit arrives and every piece fits exactly as intended.
Installation Made Simple
With your pre-cut kit in hand and your walls properly prepared, installation becomes a straightforward process of following your layout and the provided instructions. Begin by laying out all pieces according to the numbered diagram, familiarizing yourself with how they fit together before applying any adhesive. This dry run allows you to identify any potential issues and ensures you understand the sequence of assembly. Most kits recommend starting with one complete frame, often the most prominent one, and working outward from there. Apply the recommended adhesive to the back of each piece, following manufacturer guidance on coverage and placement. Press each piece firmly into place along your guide lines, using a level to verify that vertical and horizontal pieces are perfectly oriented. For kits with corner blocks, these elements go on first, with the straight trim pieces fitting between them. For mitered corners, ensure the angled ends meet precisely before securing. Use a level frequently to check alignment as you work. The confidence that comes from knowing every piece is cut correctly allows you to focus on placement and alignment, resulting in frames that are straight, level, and beautifully proportioned.
Finishing for Seamless Results
The final steps of your frame project transform good installation into the flawless finish that distinguishes professional work. Once all adhesive has fully cured according to manufacturer recommendations, inspect every joint and seam. At the seams where molding meets molding, and where molding meets wall, apply a thin bead of paintable caulk. Wet your finger and smooth the caulk gently into the joint, wiping away excess with a damp cloth. This simple step eliminates shadows and gaps, creating the illusion that the frames grew organically from the wall rather than being applied later. If you used any nails or brads for additional security, fill these holes with wood filler or spackle, sand smooth when dry. With all seams addressed and surfaces smooth, apply a high-quality primer if your molding requires it, then paint with your chosen color. For the most elegant effect, consider painting the frames the exact same color as the surrounding walls, allowing the shadows and highlights created by the molding's profile to provide the visual interest. This approach creates subtle sophistication that enhances any room without overwhelming it. If you prefer a bolder statement, a contrasting color makes the frames pop dramatically, defining the architecture of the space.
Styling Your New Decorative Frames
With installation complete and paint dry, the enjoyable work of styling your new decorative frames begins. These architectural elements naturally suggest ways to arrange art, mirrors, and decorative objects that enhance the room's design. Within each frame, consider hanging artwork that fills the space appropriately, either a single piece that occupies most of the frame or a curated grouping arranged within its boundaries. For a classic look, position mirrors within frames to reflect light and visually expand the space. In dining rooms, a large mirror or artwork centered within the main frame creates a natural focal point. For a more contemporary approach, leave some frames empty, allowing the architectural lines to speak for themselves, or apply removable wallpaper within the frames for a pattern accent that adds personality without permanence. The frames also influence furniture placement, suggesting where to position key pieces to align with the room's new architecture. However you choose to style them, your pre-cut decorative frames will provide a foundation of sophistication that elevates everything around them, creating a room that feels thoughtfully designed and beautifully finished.