
Although repairing a ceiling isn’t a thing you would have to do often, but whenever you have to, it’s not an easy thing. Fixing a ceiling is a difficult task, and it might be a challenge to do this without anyone’s help. You might have to hire Water Damage Ceiling Repairs Perth, who are professionals at this job and can certainly do a better job.
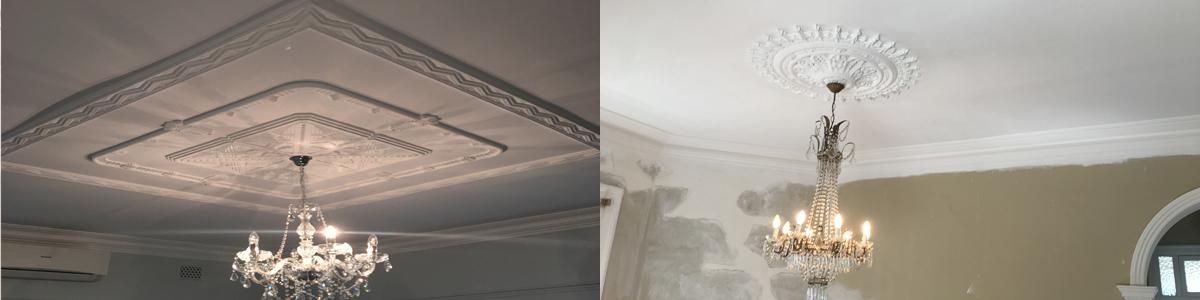
Water leakage can cause a lot of problems for your walls, apart from the unsightly look; it can cause and buildup of other organisms. And in the worst cases, might cause a ceiling collapse as well.
Keeping an eye on such leakages can save you a lot of time, and damage, and you will be able to fix the damage on time, without much destruction. Although it’s a time taking process, you can get started with the right tools, and following the right steps. Here’s a list of steps you should be following:
1. The first and most important thing to do, to get started with the repair work is to look for the source of the leakage of the water. This could be a difficult task, as water spreads all over, and it is not easy to find the start point. The way to go about this is to remove the damaged drywall and take a closer look at the leaks. Also be careful of the mold being present, it is toxic and harmful.
2. The next thing to do is removing the drywall damaged by water. For that, you have to put up tarps that will catch the debris and drywall. You could use your hand or a hammer to remove these damaged pieces.
3. Now comes the main part, the repairing of the ceiling. You have to measure the area that needs to be fixed and makes the right quantity of compound for the same. This is a difficult task so that you could seek the help of Damage ceiling repair Perth.
4. Hiring a professional or doing it yourself depends on the size of the ceiling that needs to be fixed, and your ability to do it.
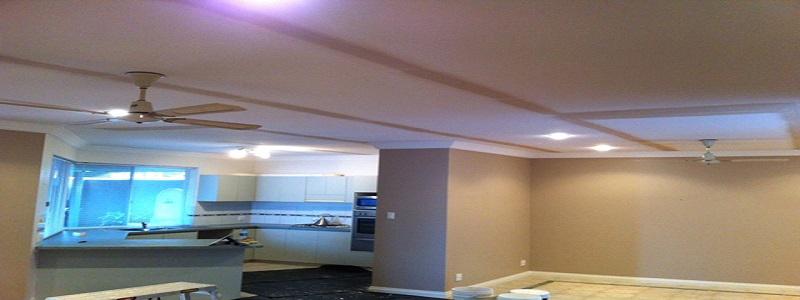
5. Once you have fixed it, the next thing is painting the ceiling. You could use a paintbrush or a roller brush. Try to paint the ceiling as evenly as possible, and check if it needs a second coat.
Now that it’s all done, the final thing is cleanup, and then you’re good to go.