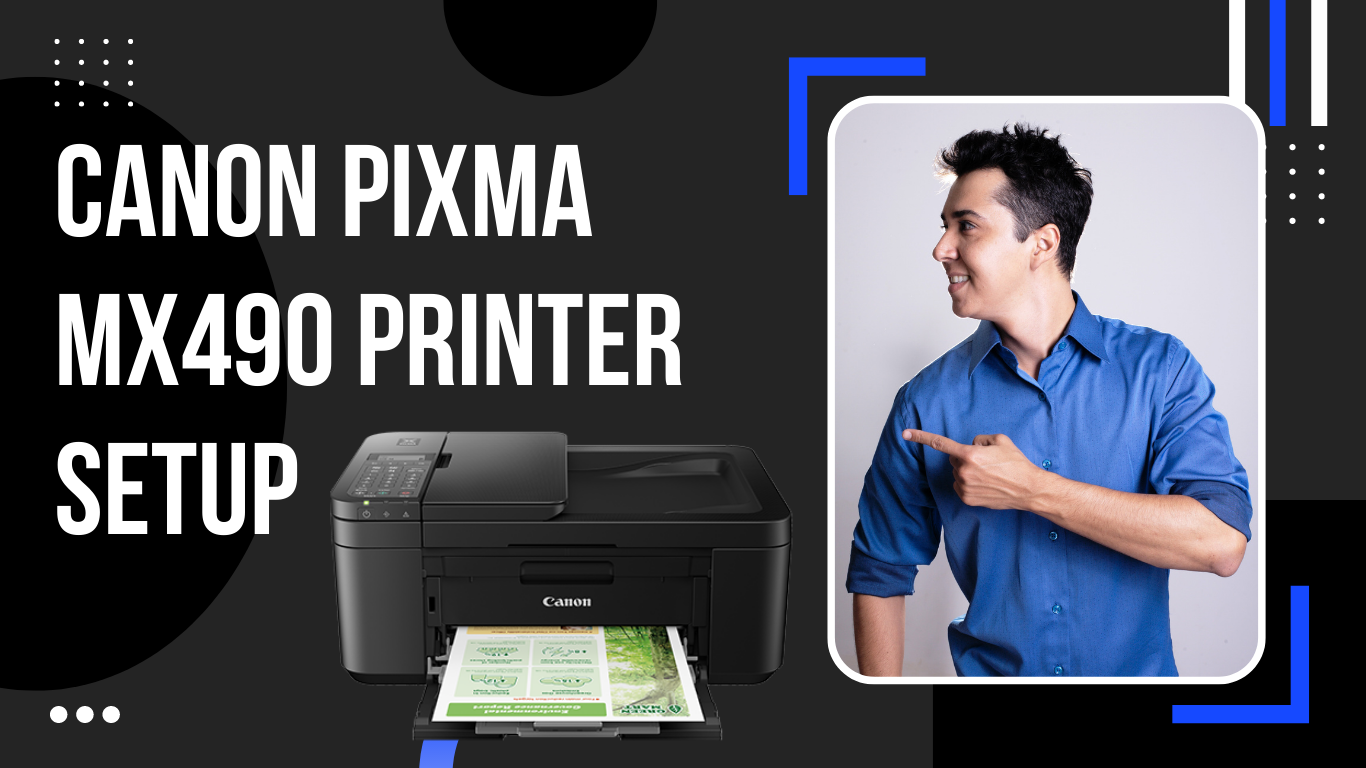
An sophisticated all-in-one inkjet printer with cutting-edge technology is the Canon Pixma Series MX490 model. Despite this, without the proper Canon MX490 Setup method, it is worthless. This cutting-edge, versatile gadget is extraordinarily powerful and guarantees effective functioning. With unmatched networking options, it is a cutting-edge printing equipment. It may also be utilised with any computer device due to its extreme versatility. For instance, Windows or Mac-powered computers, tablets, laptops, smartphones, and other gadgets. This premium printer also has a tonne of contemporary features. Consider the following features: Airprint, Google Cloud Print, My Image Garden, Fine Ink Cartridge, Auto Scan, Quiet Mode, etc.
Detailed Setup Instructions for the Canon MX490 Printer
Getting a quick, dependable internet connection is the first step in configuring a Canon MX490 printer. For usage with wired routers, the printer does include USB Connectivity options. It is advisable to choose a wireless network, nevertheless, that gives you complete independence and versatility. By using this technique, you may make the most of the characteristics and skills of your excellent Printer. Get a router that has a physical WPS Push-button if at all possible. As a result, setting up the Canon MX490 printer will be considerably simpler.
In addition to a working network connection, using your printer requires a computing device. because this printer type gives you complete connection independence. As a consequence, depending on your requirements and preferences, you can select a desktop computer, laptop, or mobile device. However, you must first connect the selected desktop or laptop to your home network before continuing. You may set up a lot of devices to use the Printer concurrently, which will boost efficiency. As a result, you will need to connect all of these devices to the same Internet network. Additionally, you must Canon Pixma Mx490 Installation Download Package on all connected Devices for best results.
Step 1: Hardware setup
Like any other technical device, Canon printers are incredibly delicate and sensitive. In other words, especially when transferring the unit, they must treat it with the utmost care and delicateness. As a result, when you purchase a Canon printer, you receive a properly wrapped item to guard against any damage. The Canon MX490 Printer must thus be properly unboxed as the initial step in the setup procedure. Choose a safe location to set up your printer to begin the process. This site must be within the range of your Internet Network. Find a flat, secure surface as well, such a table. Additionally, this location has to be adjacent to a wall outlet or other dependable power source.
To start the Canon MX490 Printer Setup process, find one and carefully place your printer there. The computer should then be gently unboxed. After removing the packaging and safety tapes, just connect it to a power source. For this, utilise the included Power Cable. The printer must then be turned on by pressing the "Power" button. As a consequence, its "Power Lamp" will show up. Verify that it is steady and green. Install the device's "Paper Tray" and fill it with the recommended Paper Sheets. The printer's four bundled ink cartridges must then be correctly installed. The startup and alignment of the printer must then be complete before you can move on. The printer's control panel will then display the setup manual. Here, a few alternatives for the Printer's default settings will be shown to you. Select "End" to conclude the Canon MX490 printer setup steps after making the appropriate options.
Step 2: Installing Wireless Setup and attaching the printer to the network
It is generally known how adaptable the connectivity options for the Canon MX490 Printer are, especially for Wireless Setup through ij.start.canon. It's essential to choose the appropriate method based on your router's connectivity possibilities. Here are two simple connecting strategies.
Step 3: Obtain the printer driver for the Canon MX490 printer setup
- Keep your printer and computer turned on. Ensure they are both linked to the same Internet network, as well.
- Insert the installation CD that was provided into your computer's CD drive.
- Its Auto-play window will therefore show up. nevertheless, if it doesn't. then search your computer for the CD Drive option. For the Setup window to appear, click it twice.
- Select the "Language" tab as soon as possible. Next, pick your preferred language.
- Afterward, select "Next."
- "Select Your Place Of Residence" is the next step. Select your choice as a result, then click "Next."
- Next, pick an appropriate "Country" from the list. and then click "Next."
- Next, pick an appropriate "Country" from the list. and then click "Next."
- The Installer will then provide a list of programmes that are ready for installation. Therefore, utilise them all or select a specific piece of software. Select "Select All" as a result, then click "Next."
- Review the conditions of the "License Agreement" for the Canon MX490 Printer Setup right now. and then click "Next."
- When prompted to allow the installation of the Canon printer software, select "Next".
- As a result, the Installation will begin. Hold off till it is completed.
- To complete, restart the computer.
References: Canon Pixma Mx490 Driver Free Download