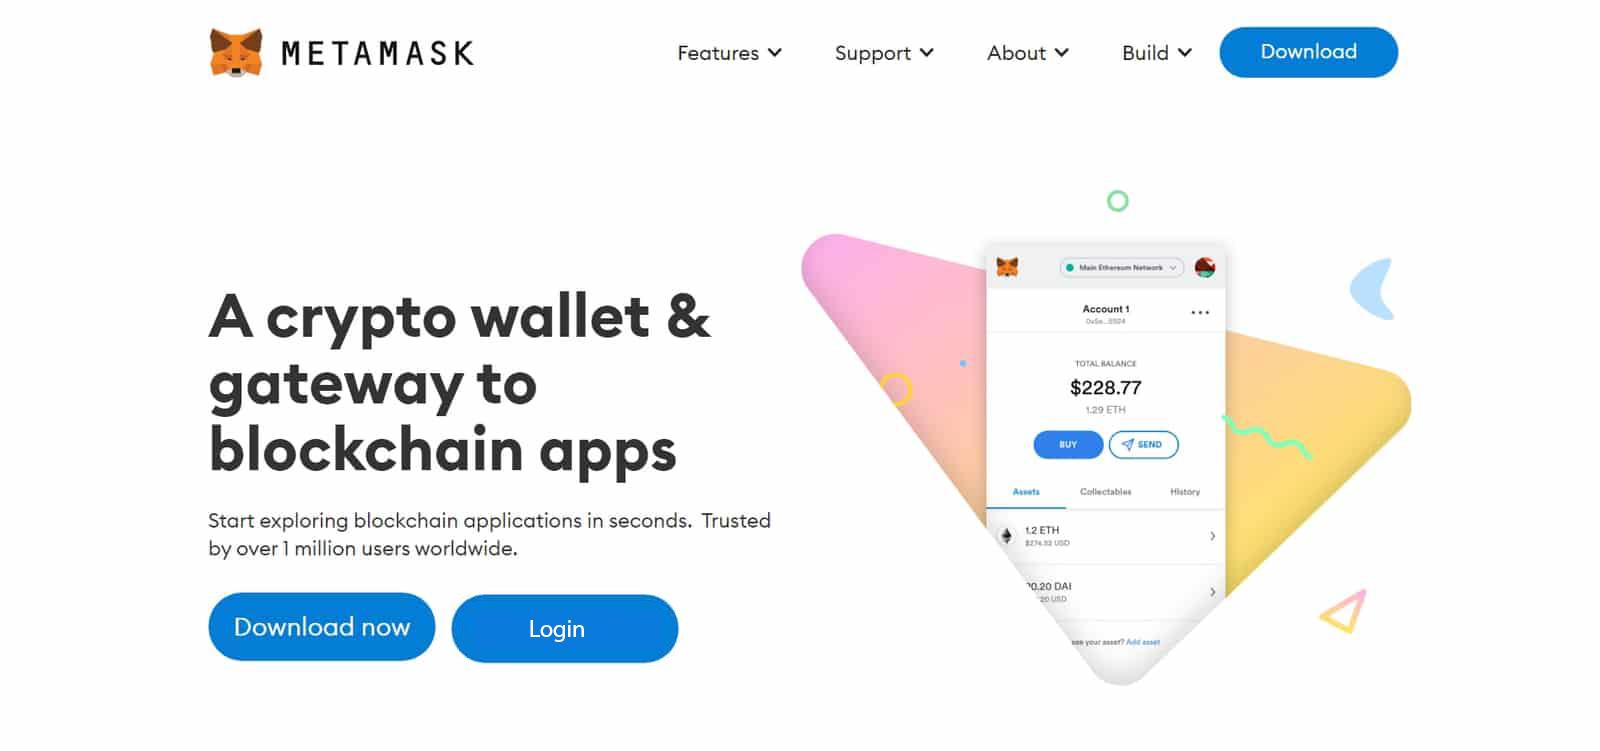
MetaMask Extension is one of the most renowned and reputed browser extensions that allows its users to interact with services based on the Ethereum blockchain network. If you are also a crypto trader or investor, then we are sure that you are aware of the importance of reporting taxes. But, if you are a beginner user of the MetaMask Extension and wondering how to download your transaction history and generate your tax report, then you are at the right place.
In our further content, we will cover two easy step-by-step instructions guide that will help you to download the transaction history of your MetaMask and generate your tax report.
How to download the transaction history on your MetaMask Extension?
We have mentioned below an easy step-by-step guide that will help you to download your transaction history in your MetaMask Extension.
- First of all, open your preferred and supported web browser and launch your MetaMask Extension.
- Enter your correct login password and log into your account.
- Once you are logged into your account, click on the three dots icon, located at the top right side and then on the “Expand View” option.
- Again click on the dots icon and then on “View Account on Etherscan”.
- Scroll down in the transaction section and then you will be able to see an option for downloading CSV import of your MetaMask transactions.
- Hit on the “Download CSV Export” option.
- Enter the specific date range in the given field for your transactions.
- In the last step, verify the captcha and then hit on the “Download” button to receive all of your relevant crypto transactions for the selected time period.
Remember: This CSV report is not enough to accurately fill your tax return because, it is difficult for MetaMask Extension or any other crypto wallet to provide a comprehensive crypto tax report to their users. If you want to generate a comprehensive crypto tax report for your MetaMask transactions along with your other crypto wallets, then dive with us in a further section of this blog.
Steps to generate a tax report for your MetaMask transactions:
Follow these simple steps to import your MetaMask transactions into the crypto tax platform to generate a tax report,
Note: We are taking CoinLedger as an example for completing our further steps because it is an easy-to-use and cost-effective crypto tax platform that allows you to compute your crypto tax seamlessly.
- Launch your MetaMask Extension and log into your account.
- Click on the copy icon located under your account name in order to copy your wallet address.
- Now, go ahead to the official page of CoinLedger and signup by following the on-screen instructions. You can skip this step if you already have an account on the CoinLedger platform.
- Once you are logged into your CoinLedger account, simply click on the “Add account”
- Now, select or click on “Ethereum” from the list of supported accounts.
- After clicking on “Ethereum”, hit on the “Connect” button located at the top right corner of your screen.
- Paste your wallet address in the required field which you have copied in Step 2 and then click on the “Connect Wallet” button to import your all MetaMask transactions into your CoinLedger account.
- In the final step, you just have to tap on the “Tax Reports” tab, located at the top menu bar to finish the entire process.
Bottom Line:
Overall, if you are an existing user of the MetaMask Extension and were looking for the best crypto tax platform to generate your tax reports, then you have to give a chance to CoinLedger. It makes it easier as compared to other tax platforms to compute taxes on your transactions, whether you are interacting with NFTs, centralized exchanges, and more.
Along with that, the entire process of downloading transaction history and generating tax reports for your MetaMask transactions is quick, simple, and straightforward that can be done in just a few minutes. But if you are unaware of how to do so, then follow the steps mentioned by us in the above sections of this blog.