In today’s fast-paced digital world, speed and performance are crucial, especially when it comes to storage. If you’ve recently upgraded your computer to an NVMe SSD or are considering doing so, you might want to clone your current drive to the new NVMe SSD. Cloning an NVMe SSD is a great way to upgrade your storage while keeping your system and data intact. In this blog, we will explain what it means to clone NVMe SSD, why it’s important, and how you can easily clone your NVMe drive using SuperCopier.
What Does It Mean to Clone an NVMe SSD?
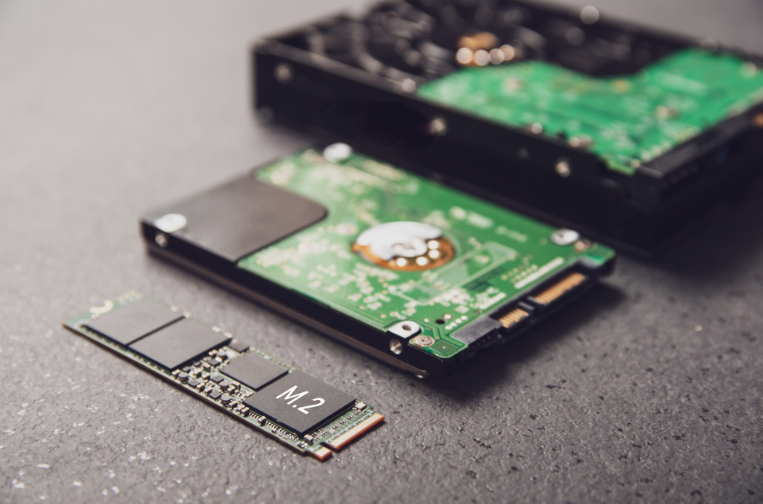
Cloning an NVMe SSD is essentially the process of creating a one-to-one copy of your existing drive onto a new NVMe SSD. This cloning process includes all your files, operating system, software, and system settings, ensuring that your new NVMe SSD is an exact replica of your old storage drive.
This process differs from simple data transfer because it doesn't just move files over—it makes a full, bootable copy of the original drive, which means you don’t have to reinstall your operating system or applications. It’s an ideal solution for upgrading to a faster NVMe drive or protecting your data from a failing drive without losing any time.
Why Clone an NVMe SSD?
Upgrading to an NVMe SSD is a great way to boost your computer's speed and overall performance. NVMe drives are faster than traditional SATA SSDs and hard drives, which means faster boot times, quicker file transfers, and improved responsiveness. Here are some reasons why cloning an NVMe SSD is beneficial:
- Faster System Performance
NVMe SSDs offer significantly faster read and write speeds compared to traditional hard drives and SATA-based SSDs. If you’re looking to upgrade your system’s performance, cloning to an NVMe SSD ensures that all your data remains intact while unlocking the potential for better speed and responsiveness. - Data Protection
If your current drive is showing signs of failure or simply needs more space, cloning your data to a new NVMe SSD ensures your system and data are safe. A clone allows you to transition seamlessly to the new drive without losing any important files, software, or settings. - Easy System Migration
Whether you’re upgrading to a larger NVMe SSD or transitioning to a different PC, cloning your current SSD to the new NVMe SSD will save you time and effort. You won't have to reinstall your OS, applications, or restore backups, making the migration process incredibly smooth. - Backup Strategy
Cloning an NVMe SSD also acts as a backup strategy. If you’re about to upgrade or replace your drive, it’s a good idea to create a clone so that your system can be easily restored in case anything goes wrong.
How to Clone NVMe SSD: Step-by-Step Guide
Now that you understand why cloning an NVMe SSD is a smart move, let’s dive into how to do it. With SuperCopier, the process is incredibly easy and efficient. Here’s a simple step-by-step guide to help you clone your NVMe SSD.
Step 1: Download and Install SuperCopier
The first thing you need to do is download SuperCopier from its official website. SuperCopier is a versatile file management tool designed to make tasks like cloning drives easy and fast. Once downloaded, follow the simple installation instructions to set up the software on your computer.
Step 2: Connect Your Drives
To begin the cloning process, connect both the source drive (the one you want to clone) and the destination NVMe SSD to your computer. Make sure the destination NVMe SSD has enough storage space to hold all the data from the source drive.
Step 3: Launch SuperCopier
Once the software is installed, launch SuperCopier. It offers an intuitive user interface that makes cloning simple, even for those with little technical experience.
Step 4: Select Source and Destination Drives
In SuperCopier, select your source NVMe drive (the one you want to clone) and the destination drive (the new NVMe SSD). This step ensures that the program knows where to copy the data from and where to send it. Be sure to double-check that the destination drive is the correct NVMe SSD.
Step 5: Begin Cloning
With the drives selected, you’re ready to start the cloning process. Click the “Clone” button in SuperCopier to begin. The software will handle everything from copying the system files to transferring personal data, ensuring a flawless and secure process.
Step 6: Verify the Clone
Once the cloning process is complete, it’s important to verify that everything has been copied over correctly. Check that all your files, applications, and operating system have been transferred successfully. You can also test the new NVMe SSD by booting your system from it to ensure it’s functioning properly.
Step 7: Set the New Drive as Boot Drive (Optional)
If the purpose of cloning was to upgrade your storage and make the new NVMe SSD your primary drive, go into your BIOS settings and set the newly cloned SSD as the boot drive. This will ensure your computer boots from the NVMe SSD, giving you the performance boost you’ve been looking for.
Why Choose SuperCopier for Cloning NVMe SSD?
SuperCopier is an excellent choice for clone NVMe SSD because it offers a smooth and efficient experience. Unlike other cloning software, SuperCopier’s intuitive interface makes it easy for both beginners and experienced users to clone their drives without hassle. The software is designed to ensure that the cloning process is as fast and secure as possible, with no data loss or system errors.
Final Thoughts
Cloning an NVMe SSD is a fantastic way to upgrade your storage and enhance your computer's performance. By using SuperCopier, you can make this process simple, fast, and reliable. Whether you’re upgrading to a larger NVMe SSD or replacing a failing drive, cloning ensures that you don’t lose any important data or system settings. Try SuperCopier today, and give your system the upgrade it deserves.